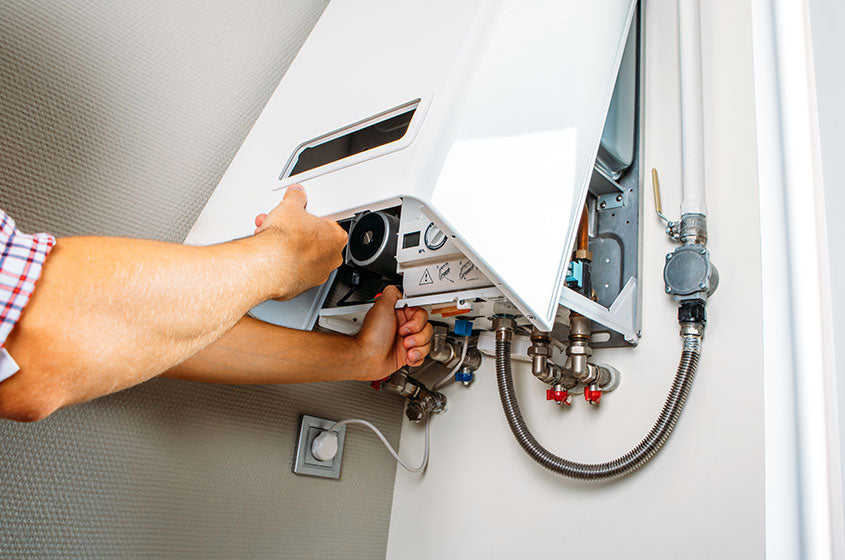
How to Change a Water Heater Element: Your Step-By-Step Guide

The element of a water heater is the most important part. This is an electric coil which produces a high temperature to heat the water. Generally, the lifespan of this coil is 5 to 10 years, but it can stop working any time after installation due to many reasons; let's have a quick look at the reasons which affect the lifespan of the water heater element. We will also look at how to change the water heater element.
Heating Element Quality
The element made from a reasonably good quality material can surpass its book value by many years, whereas a poor quality element can give up at any moment. Therefore, you should buy a quality product.
Water Quality
The element will last a long time if the water is clean and soft. But if the water is muddy, rusty, or hard, it will form a coating on the heating element, leading to corrosion or a short circuit.
Water Tank Quality
The water tank can be made from either MS steel, SS steel, copper, or aluminum. The material and quality of the tank also affect the life expectancy of the heating coil.
Accidental Damage
Many times, an accident like voltage fluctuation can also damage the element. If the inlet water supply runs out and the element remains on, it can burn in a few minutes.
If the element gets damaged for one or another reason, it needs to be replaced. Now, replacing the water heater element seems difficult, but it can be replaced without much hassle if we know how to complete it.
Here is a step-by-step guide to replacing the element of your water heater by yourself:
Turn Off the Power
First of all, turn off the heater. For this, switch off the circuit breaker that sends the electric supply to the heater. Before proceeding further, it is better to ensure that there is no supply in the heater with the help of a multimeter.
Drain the Water Storage Tank
Shut off the cold water supply, connect a hose to the drain valve. Then, open the drain valve. Though we need to drain the tank to the point below the level of the element, it will be a good idea to drain the tank completely so that any sediments at the bottom are flushed out.
Remove the Existing Element
Disconnect the wires from the element and unscrew or unbolt the element as per its type. If your element is in place for a considerable time, it may not be easy to unscrew/unbolt. Once loosened, pull out the element from its place. The element rests on a rubber "O" Gasket. This gasket seals the tank and prevents leakage. Remove this gasket as well.
Install the New Element
Clean the gasket area of the tank with a cloth and ensure it is free of any debris or coating. Then attach the "O" ring on the threading of the new element. A new "O" ring should be used every time you replace the element.
Now, gently push the element into its place and secure it by tightening the screws or bolts. Reconnect the wires to the points of the element and secure them by tightening the screws.
Refill the Tank
Close the drain valve and resume the water inlet supply. After the tank is full, check for any leakage. If some leakage appears, you can stop it by tightening the screws. Keep the hot water faucet open till you get a steady flow of water.
Finally, switch on the power supply, and your water heater is ready for use. Depending on your needs and preference, you can also consider a Brigade water heater that runs on gas and does not require a water heating element.

